Placing an order for custom cut mats or frames can be a hassle. That’s why we created the Product Builder to make this process quick, easy and as always, affordable! Below we have a step-by-step guide and section review for using this new tool on our website.
Getting to the Product Builder Page
The product builder page can be reached from many different locations on our website.
- “Product Builder” in the main menu.
- “Build Your Custom Product” banner on home page after “Best Sellers” spotlight.
- Website footer (“Custom Builder” under “About Us”)
- Bottom banner beneath every product listing next to “Have Questions?”
These locations make accessing the page quick and straightforward no matter where you are on the website.
Using the Product Builder
We’ve added every option that we offer for our custom cut mats and custom frames to the builder. With the many different size and color options available to you, you can find exactly what you are looking for to bring your vision to life.
Section Overview:
- Order Options
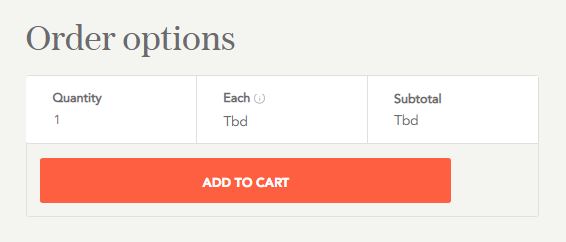
The Order Options section gives you an overview of the price of your order, as well as the ability to adjust your quantity. Please note that the price each price and subtotal will not appear until you have completed the “Mat Size” section.
- Mat Color
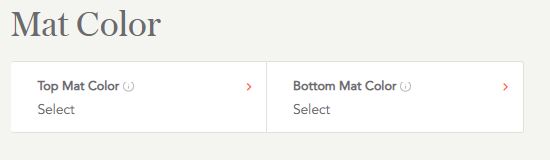
This section allows you to choose your mat color, bottom mat color (this step is optional and conditional on if you would like to order a double mat), the quality, core color, and finally the thickness. Options will appear and disappear according to their availability. For example, changing the quality, core color, and thickness from the presets will only allow you to choose black or white in color. That is because these more custom options are only available in these two colors.
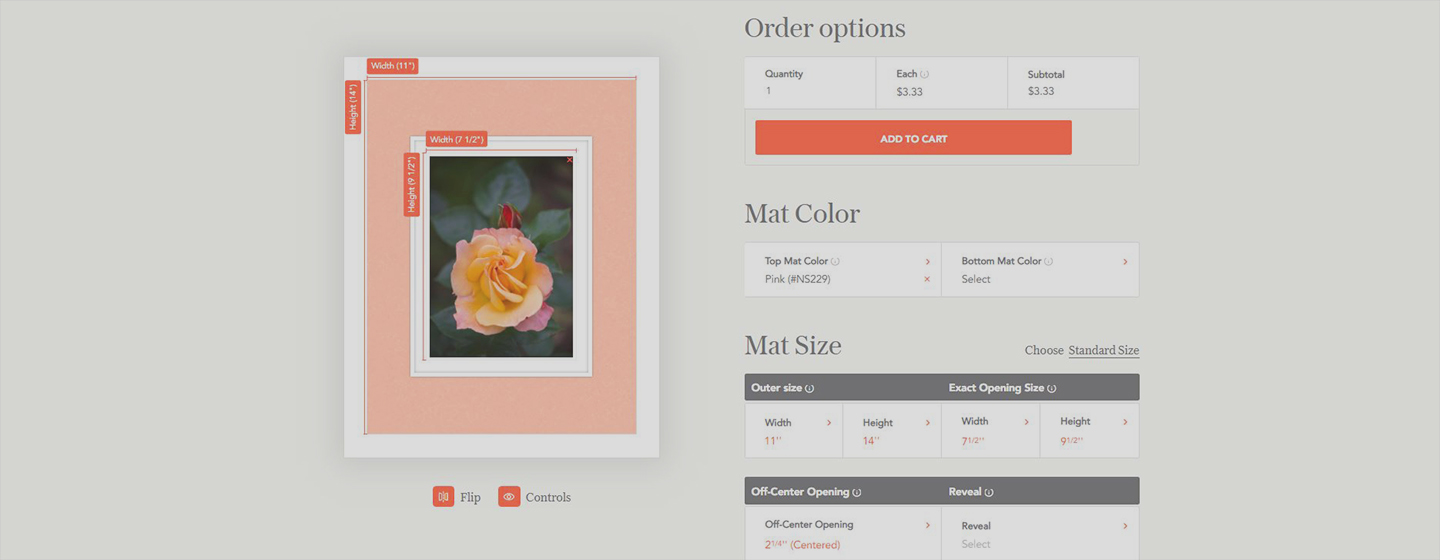
- Mat Size
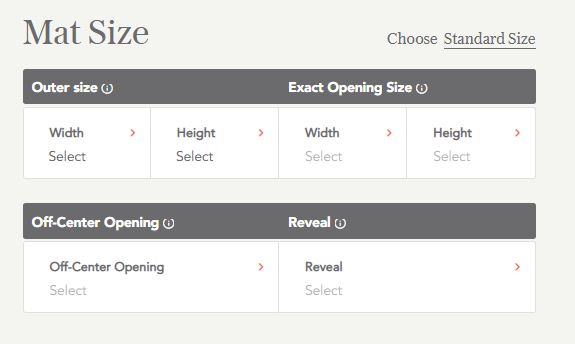
The Mat Size section is where you can specify several different measurements for your custom cut mat board. Check out our blog on How to Order the Perfect Custom Matboard (The Basics) to assist you with this section. “Outer Size” will determine the outer measurement of your matboard, as well as your frame if you will be ordering a custom or buying one. “Exact Opening Size” will be the measurement of the print or artwork you will be putting in the mat, minus ¼ or ½ inch so that your print or artwork will not fall through the opening, as well as to allow for easier mounting (touch on in further detail in aforementioned blog). “Off-Center Opening” is where you can choose to have a bottom or top heavy mat. Finally, the “Reveal” option is for specifying how much of the bottom mat in a doublemat order you would like to show beneath the top mat. You can also choose a standard sized mat to be entered into the product builder by using the “Choose Standard Size” prompt on the top right hand corner of this section.
- Frames and Accessories
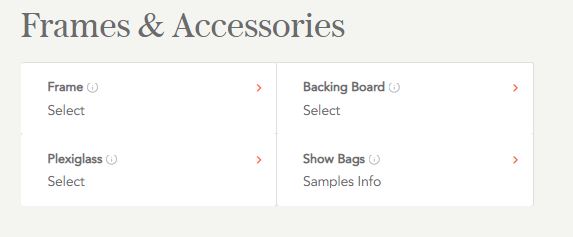
The “Frames and Accessories section allows the addition of a custom frame to go with your mat, plexiglass for your frame, and backing board and a clear bag to make it a show kit.
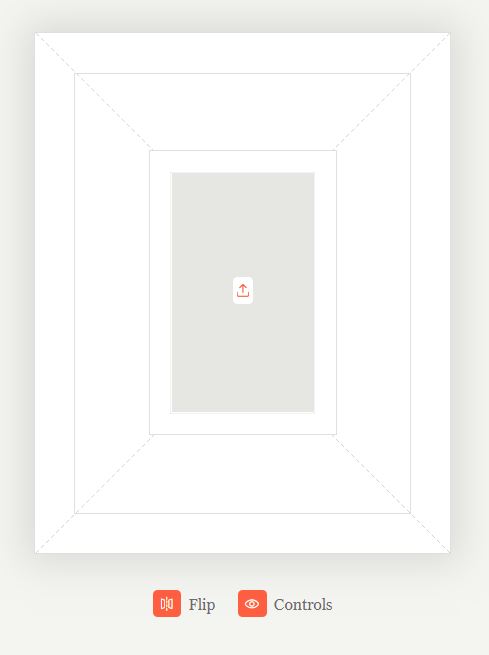
Viewing Options
The “Flip” and “Controls” button under the mat preview can be used to view your matboard in a different way.

The “Flip” button will change the orientation of your outer size preview. This will also automatically update your measurement input. The “Controls” button will toggle the measurement guide on and off so that you can get a better view of your mat.