Mastering the Art of Digitization: Turning Your Artwork into Stunning Prints
In the dynamic realm of art and photography, technology has emerged as a transformative tool, offering artists unprecedented ways to expand their creative horizons. One such avenue is digitization, a process that allows artists to transform their traditional artworks into high-quality prints. At Golden State Art, we understand the significance of preserving and sharing your artistic creations, which is why we're here to guide you through the process of digitizing your artwork to create exceptional prints.

The Digital Revolution in Art
The digital revolution has undeniably reshaped the artistic landscape, enabling artists to explore new avenues and reach wider audiences. Digitization involves converting physical artwork into digital files, which can then be reproduced as prints or shared online. This transition provides numerous benefits, including the ability to showcase your art to a global audience, create art merchandise, and even safeguard your original pieces from wear and tear.
Choosing the Right Tools
To embark on your journey of digitizing artwork, you'll need the right tools. A high-resolution scanner or a professional camera with macro capabilities is essential to capture intricate details and vibrant colors. Lighting plays a crucial role in obtaining accurate colors and minimizing shadows, so ensure you have uniform and diffused lighting setup.
Scanning vs. Photographing
Both scanning and photographing your artwork have their merits. Scanning is ideal for flat and small-to-medium-sized pieces, as it minimizes distortion and captures details meticulously. On the other hand, photographing is preferred for larger artworks or those with texture, as it allows you to maintain perspective and depth. Whichever method you choose, remember to use a color-calibrated monitor to ensure accurate color representation.
Preparing Artwork for Digitization
Before digitizing, ensure your artwork is clean and free from dust or debris. If your artwork is framed, remove the glass to avoid glare and reflections. For three-dimensional or textured pieces, multiple photographs from different angles can help capture the nuances accurately.
The Digitization Process
1. Set Up: Place your artwork on a flat surface with uniform lighting. Ensure that the artwork is centered and squared with the camera or scanner.
2. Capture: Capture the image using the camera or scanner. For scanning, use a high resolution (300 dpi or higher) for optimal print quality. For photography, use a tripod to eliminate camera shake.
3. Color Correction: Use photo editing software to adjust colors, contrast, and brightness. Compare the digital image to the original artwork to ensure accurate color representation.
4. Resolution and File Format: Save the digitized image in a high-resolution format like TIFF or PNG. This preserves details and allows for better print quality.
5. Editing: Make necessary adjustments to the digital file, such as cropping, resizing, or adding borders. This step ensures your artwork fits standard print sizes.
Printing Your Masterpiece
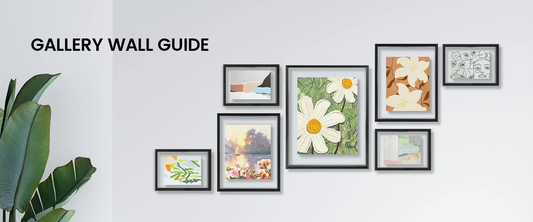
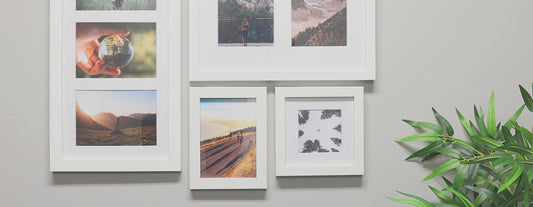
Once your artwork is successfully digitized and edited, it's time to transform it into breathtaking prints. At Golden State Art, we specialize in providing wholesale pre-cut and custom mat boards, frames, and supplies to enhance your prints' presentation. Choose the right paper type and printing technique to showcase the essence of your artwork.
Conclusion
In an increasingly digital world, embracing technology can significantly benefit artists and their creative endeavors. The process of digitizing artwork allows for wider reach, greater opportunities, and the ability to leave a lasting legacy through stunning prints. Golden State Art stands as your partner in this journey, offering the expertise and supplies you need to turn your physical artworks into digital masterpieces that captivate audiences for generations to come.
Tags:
Related articles

How to Choose a Mat Color for Art
Dec 09 2024

How to recover your account on the new website?
Sep 11 2024
Why Your Artwork Deserves a Frame
May 23 2024
The Product Builder
May 23 2024