How to Order the Perfect Custom Matboard (The Basics)
Determining the right custom opening for your matboard can be a challenge. There is a science to getting the measurements just right, and it is important to understand the method behind the madness. That’s why we’ve created this guide using real-life scenarios to help you get started.
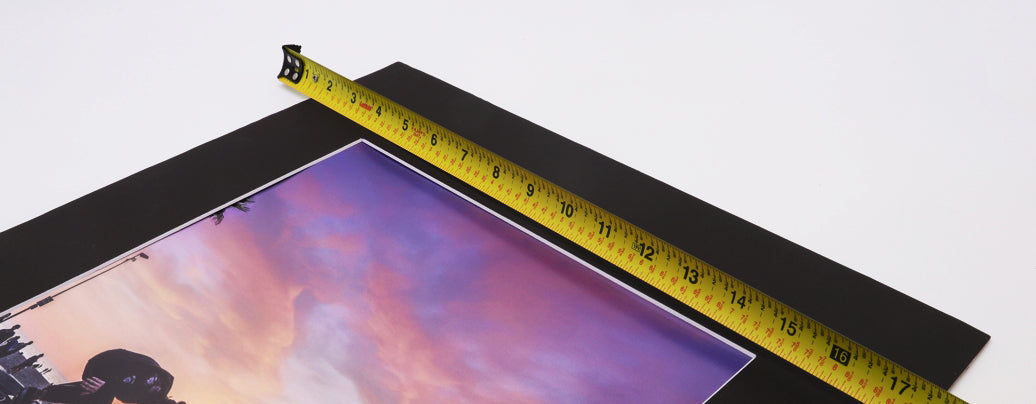
The most important part of this measuring process is properly measuring your artwork or print. This step is crucial, as a quarter inch off can result in a mat opening that is too small or too big.
Tips:
- Use a measuring instrument that includes both inches and fractions of an inch to ensure accuracy and ease
- Begin measuring at the 1 inch mark on your measuring instrument to ensure accuracy as well, deducting one from your final dimension
- Ex: If you begin at the one mark and your print measures 12 ¼, your final measurement will be 11 ¼ because the first inch is not included in the measurement.
The second most important part of the measuring process is to understand the math behind the matting process.
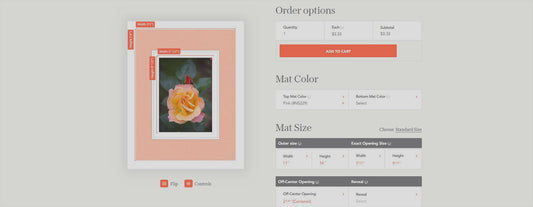
Let’s say you would like a 9x12 opening and a two inch border for your matboard. Because we are working with a rectangular shape, the dimensions you want for your outer mat must take into consideration the distribution of these measurements. For example, if you would like a two inch border around your print, it is not as simple as adding two to your inner dimensions. Instead, you would need to add four to your inner dimension, as you will need two inches on both sides of the mat. Adding two inches will give you a one inch border on your mat as opposed to the desired two.
9 + 4 = 13
12 + 4 = 16
Your outer dimension will need to be 13x16 for this mat board.
In Summary: Desired border size x 2 = Sum to add to each opening dimension measurement
Another important thing to take into consideration when determining your custom mat dimensions is that giving your mat the same opening as your print will result in your print falling through the opening.
As in the example above, if your print measures 9x12 and you give the mat an opening of 9x12, there isn't any leeway to allow for securing the print to the mat. To prevent this, it is important to make the mat opening half an inch smaller than your actual print. This will not result in the mat covering half an inch of your photo, as the half inch is divided into two because it is distributed on both sides of the mat opening. Therefore, this will cover a quarter of an inch (¼) of your print on both sides and allow for easy mounting of the print or artwork to your mat.
Ideal mat dimensions for a 9x12 print: 13x16 outer dimension, 8.5x11.5 inner cu.
We hope this guide has helped you in determining the steps you need to take to properly mat your artwork. As always, we are here to help, so feel free to contact us if you have any questions or need assistance with this process.


