How to Mount Using the Hinging Method
The hinging method is a fast and effective way to mount your prints. We recommend this method as it is simple and fast to learn and use, for beginners to experts.
Below, we have a step-by-step method on how to hinge-mount your artwork
Supplies you will need:
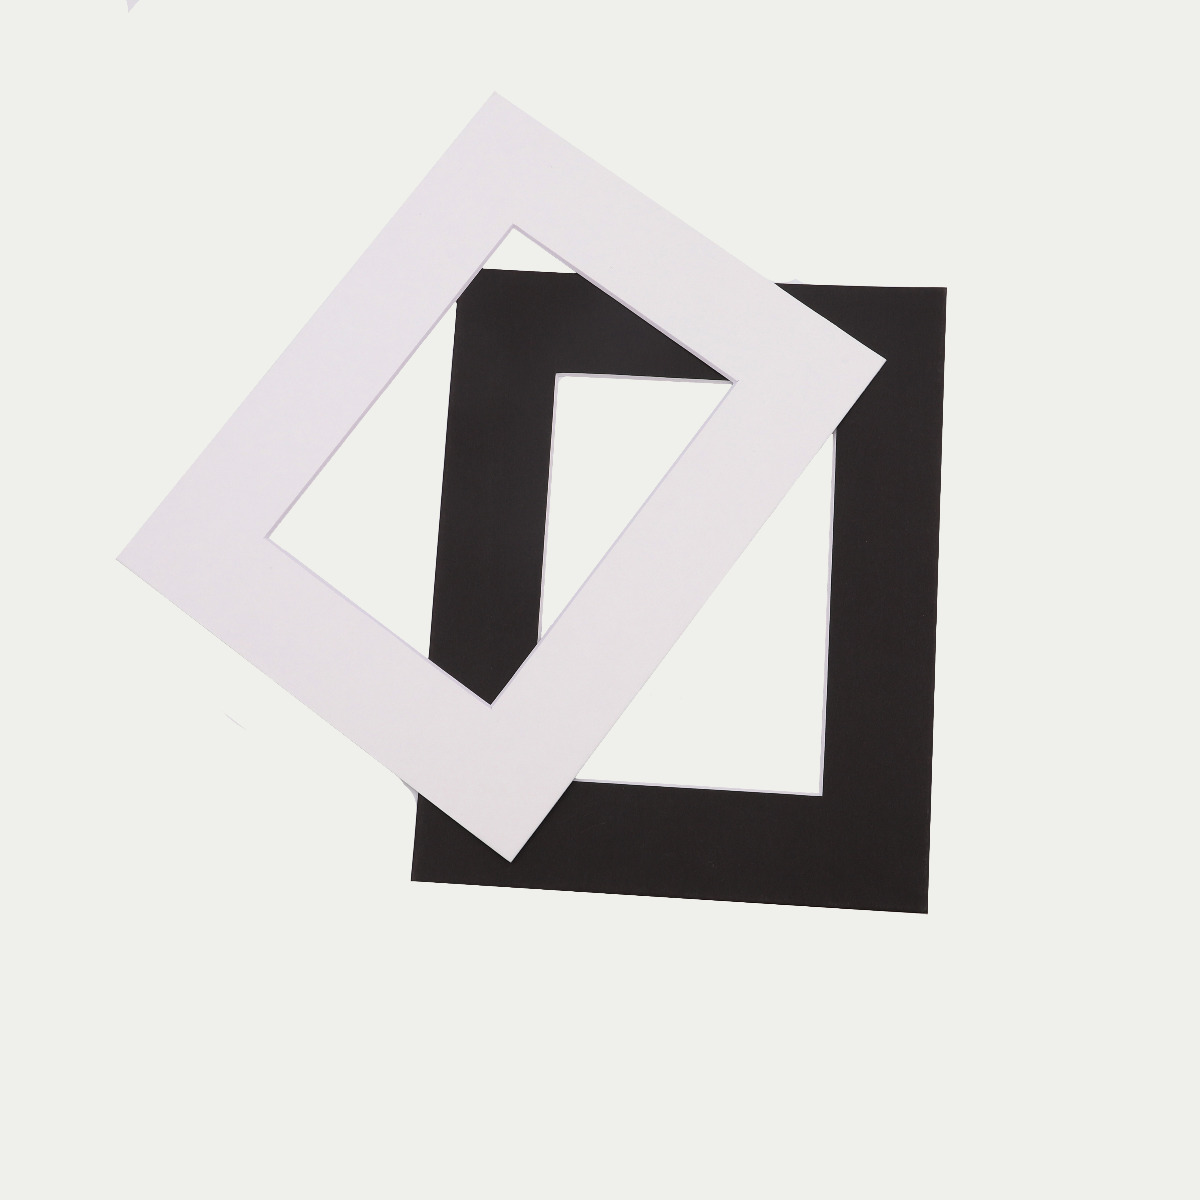
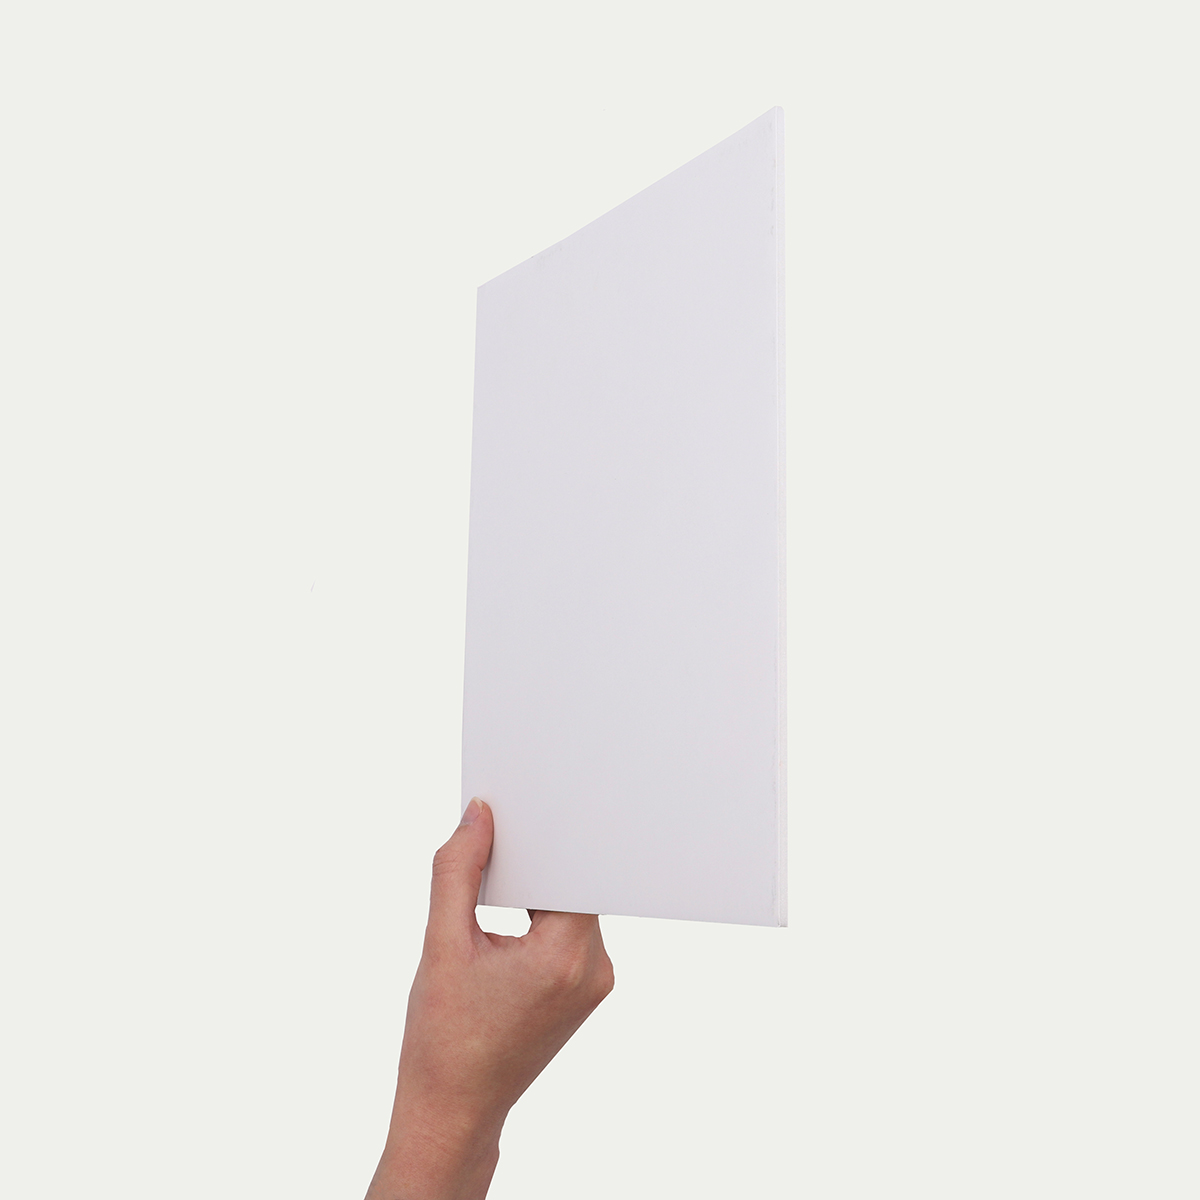
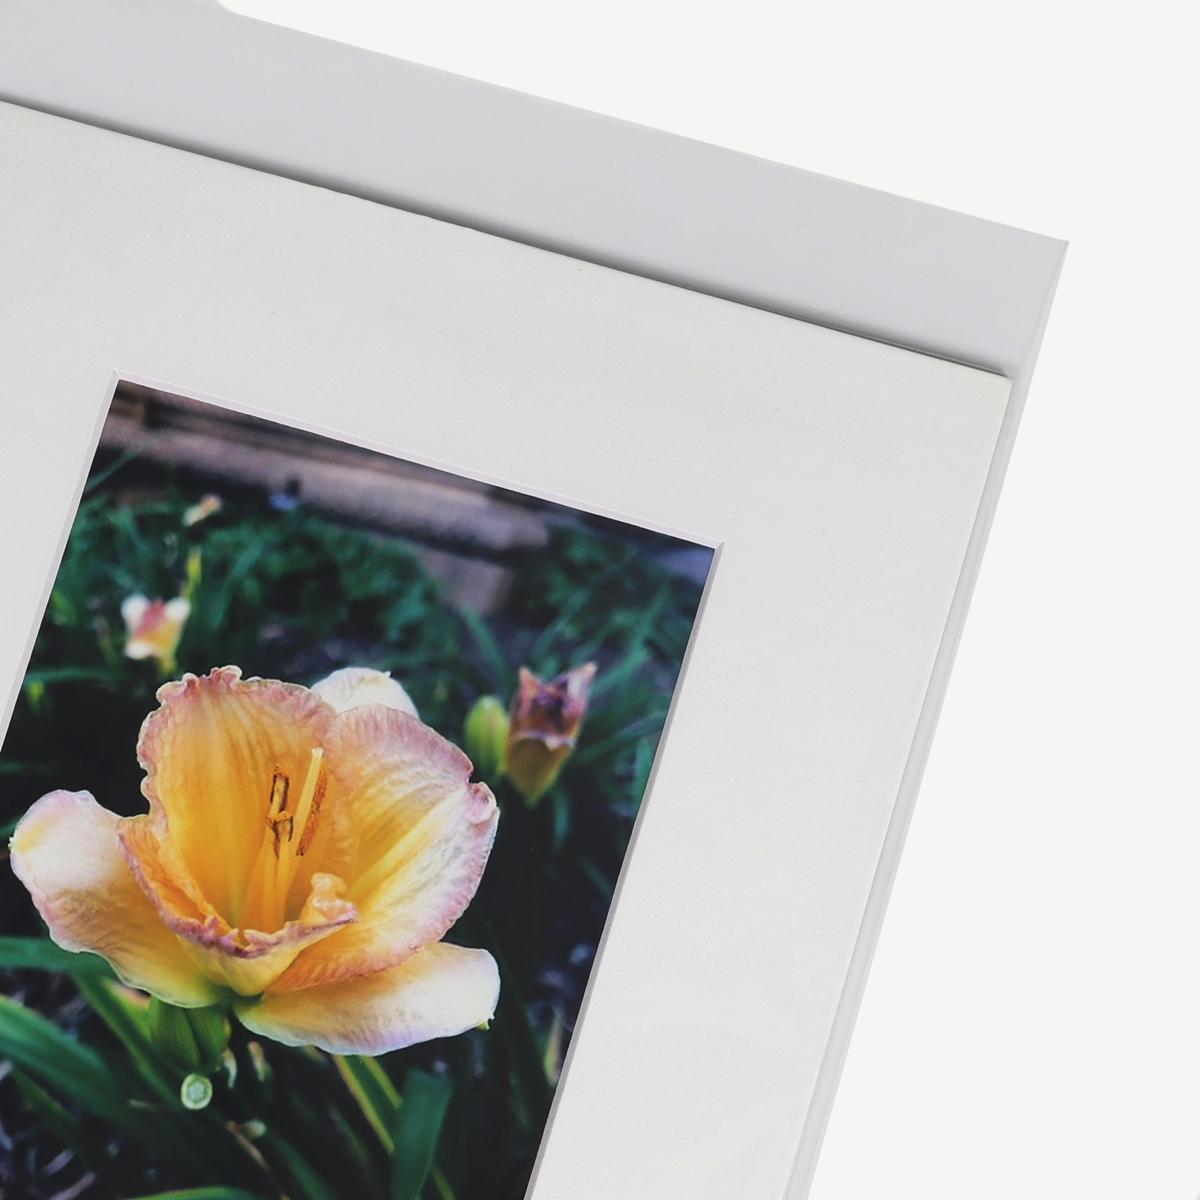
- A matboard
- A backing board or foam board
- Hinging tape (our favorite is the Lineco Linen Hinging tape as it is archival quality and inexpensive)
- Scissors
Step 1: Place your mat face down and your backing board adjacent to your mat. Make sure to align them evenly.
Step 2: Grab your hinging tape, and cut a strip measuring the length of your matboard
Step 3: Roll the tape towards you by using one finger to pull the tape away from the strip for use, and place the strip, adhesive side down, along the area where your mat and backing board meet.
Step 4: Place your print in the middle of your backing board, using the mat window to adjust it for optimal viewing.
Step 5: Attach your print to the backing board using the T-Hinge.
- Creating your T-Hinge: Cut 4 smaller strips of the tape. Cut those strips in half, and remove the tape from the strips. Place the stick side of one piece on the top of the stick side of the other piece, creating a T and you can now position the long side of the T to the back of your print and then secure it to the backing board.
Step 6: As an optional step, the mat may be secured to the backing board in a more permanent way using double sided tape.
- As with the hinging tape, measure your double sided tape to fit the mat.
- Pull the strip toward you and lay flat, sticky side up, onto the backing.
- Roll the strip toward you, pulling gently to ensure the adhesive stays on the backing board.
- Close the mat, press firmly down, and the mat is now secure.
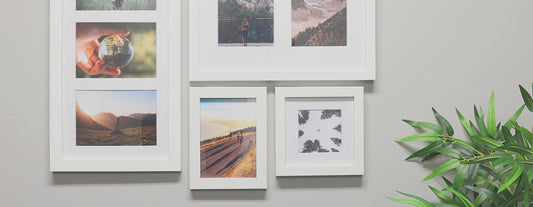
You can also finish off the presentation with a clear bag to preserve the artwork and gives it a more finished look.


Tags:
Previous
Protecting and Preserving Your Prints and Artwork
Next
How to Order the Perfect Custom Matboard (The Basics)
Related articles


How to Choose a Mat Color for Art
Dec 09 2024

How to recover your account on the new website?
Sep 11 2024
Why Your Artwork Deserves a Frame
May 23 2024
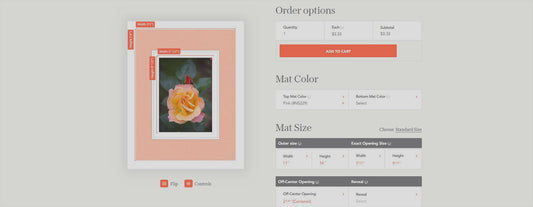
The Product Builder
May 23 2024